Change System Proxy Settings in Windows PC For Google Chrome and Internet Explorer
This tutorial is about how to change System Proxy settings of Windows PC. As Internet Explorer and Google Chrome allow only system Proxy, It’s easy to change system proxy from browser, say Chrome. Once you change the system proxy settings any App, which supports system proxy, will start to use it. (Read how to force all app to use any proxy using Proxifier)
Difficulty: Easy Time Require: 5 minute
Step 1: Open Google Chrome, Click on Menu at upper right corner and click Settings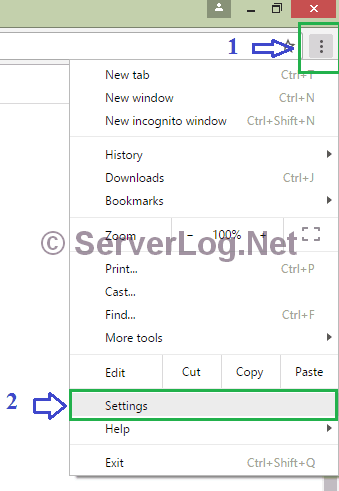
NOTE: If you don’t have google chrome installed Please Use Start–> Control Panel–> Internet Options and proceeds to step 3. You may open “Internet Options” from Right Upper Menu of Internet Explorer
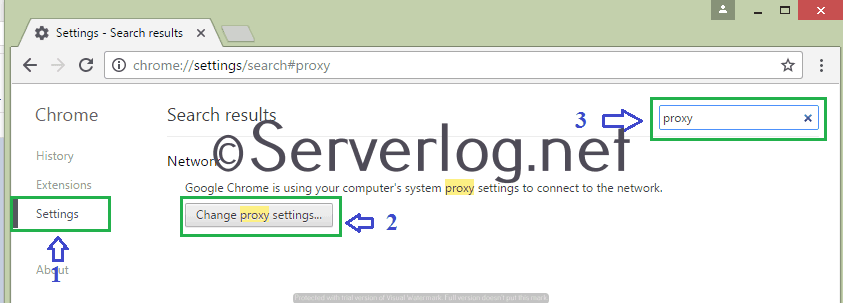
Step 2: Select settings again. In Search settings search for the word “Proxy” and click on “Change Proxy Settings“
Step 3: Select “LAN Settings” from the new Tab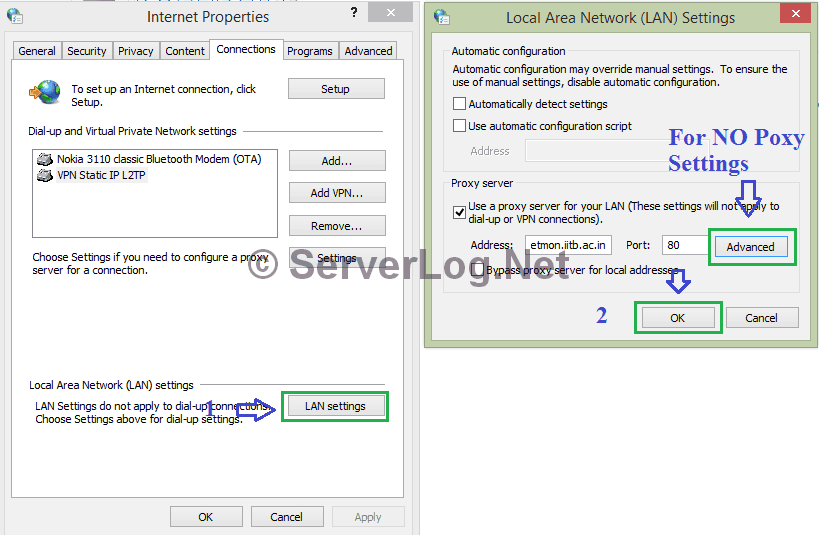
In next LAN Settings Screen you may use 3 type of proxy , Use the one supported by your ISP or organization. (Different type of proxy and example proxy for IIT Bombay ).
Step 4: No Proxy Settings:
Your ISP or Organization may want some particular site to be fetched without proxy server, Usually those are in your organization’s domain. Those sites are locally hosted and not fetched by proxy server. Click on the “Advanced” from upper tab. 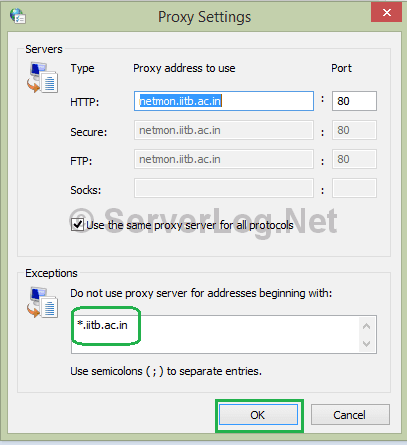
Put proper no proxy URLs in “Exceptions” box separated by ‘,’
If you select Manual proxy, you may chose the type of manual proxy like HTTP, SSL, SOCKS from the upper section. If you like to use same manual proxy for all three type put it into HTTP proxy and simply check the Option “Use The Same Proxy Server For All Protocols“
Views: 101